It's Simple to Transfer a Domain Name to Google Domains
Sam here. I recently transferred a domain name away from the domain registrar Namecheap. I wanted to transfer it to Google Domains because I had a good experience there while administrating a domain name for somebody else that I created a website for. I wasn't sure though, so I did a little research on the Web.
I landed on a very popular website that offered a lot of advice about website hosting and affiliate marketing. They didn't like Google domains at all. When I looked at the reasons why they didn't like Google Domains, it was stuff that I just knew was wrong, like that it was an expensive option. I thought to myself why would somebody make such a clear mistake, then it occurred to me: affiliate marketing. You cannot make money recommending Google Domains to your website visitors. The best options for affiliate marketers are other domain registrars that pay big money for referrals. I'm guessing Google Domain pays nothing for a referral.
Something I’ve known for a while is that good advice does not come looking for you, and bad advice seems to be everywhere. Sadly, this holds true for information you find on the Web. I decided to go with Google Domains.
As I explored this option, I was really surprised by how easy Google has made the domain transfer process. Until very recently, transferring a domain was something that had remained fairly complicated. You had to deal with cryptic network settings and things that just didn't make much sense to people without a networking background. I was pleasantly surprised that this has improved. I thought I would talk briefly about the process of transferring a domain into the Google Domains environment. Of course, I'm talking here about transferring a domain that you already own. If you're buying a new domain name the process will be much easier.
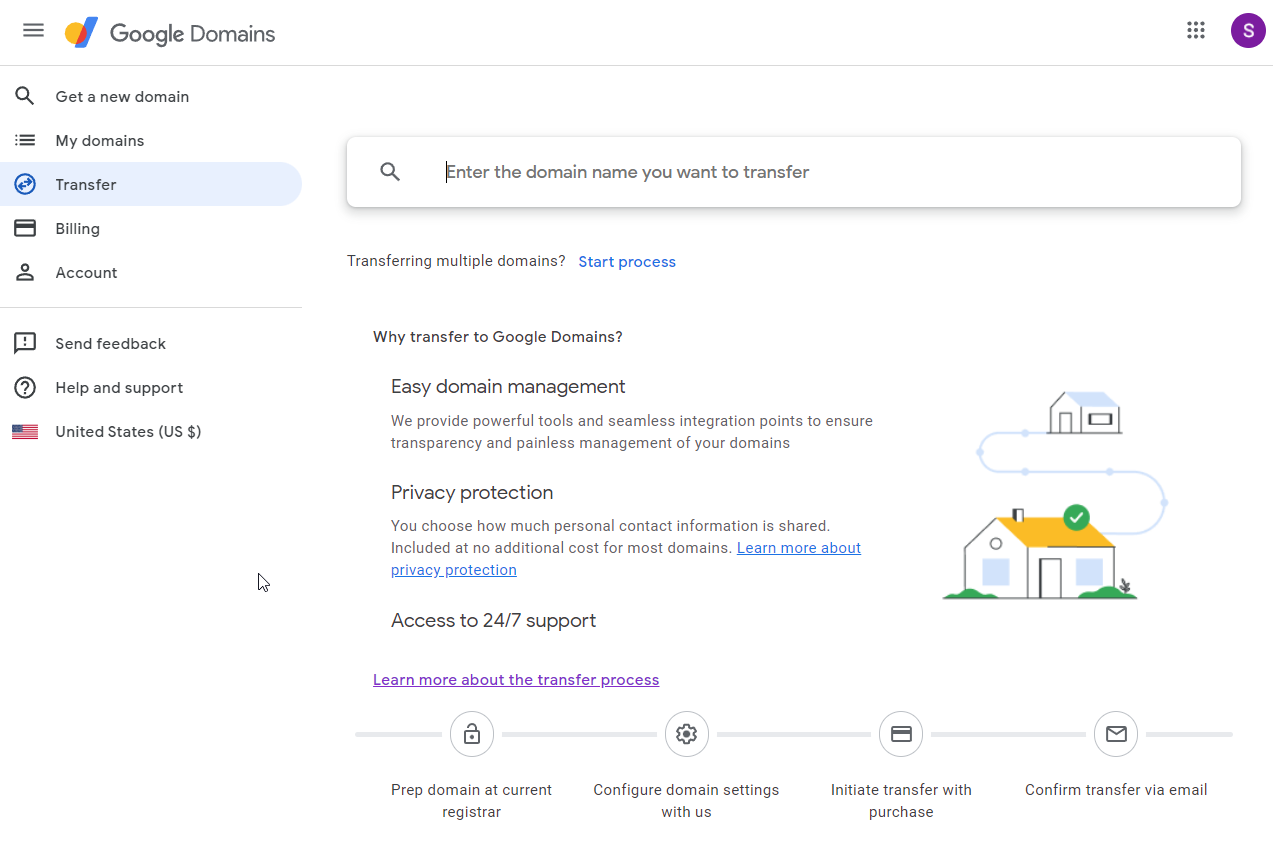
The first step is to go to the Google Domains web page, https://domains.google/. When there, you can either search for your new domain name or transfer a domain you already own. For me, I chose the latter option.
Now that you chose to continue on the transfer domain name process you end up on a page where you enter the name of the domain name you want to transfer. So, enter the name you intend to transfer and hit Enter to continue.
Now on this page, you need the current registrar to unlock the domain and get the authorization code. This part of the process will be different for every registrar. When you have released the domain for transfer and obtained to code you need, you can return to this page to enter this information and click Continue to go to the next step in the process.
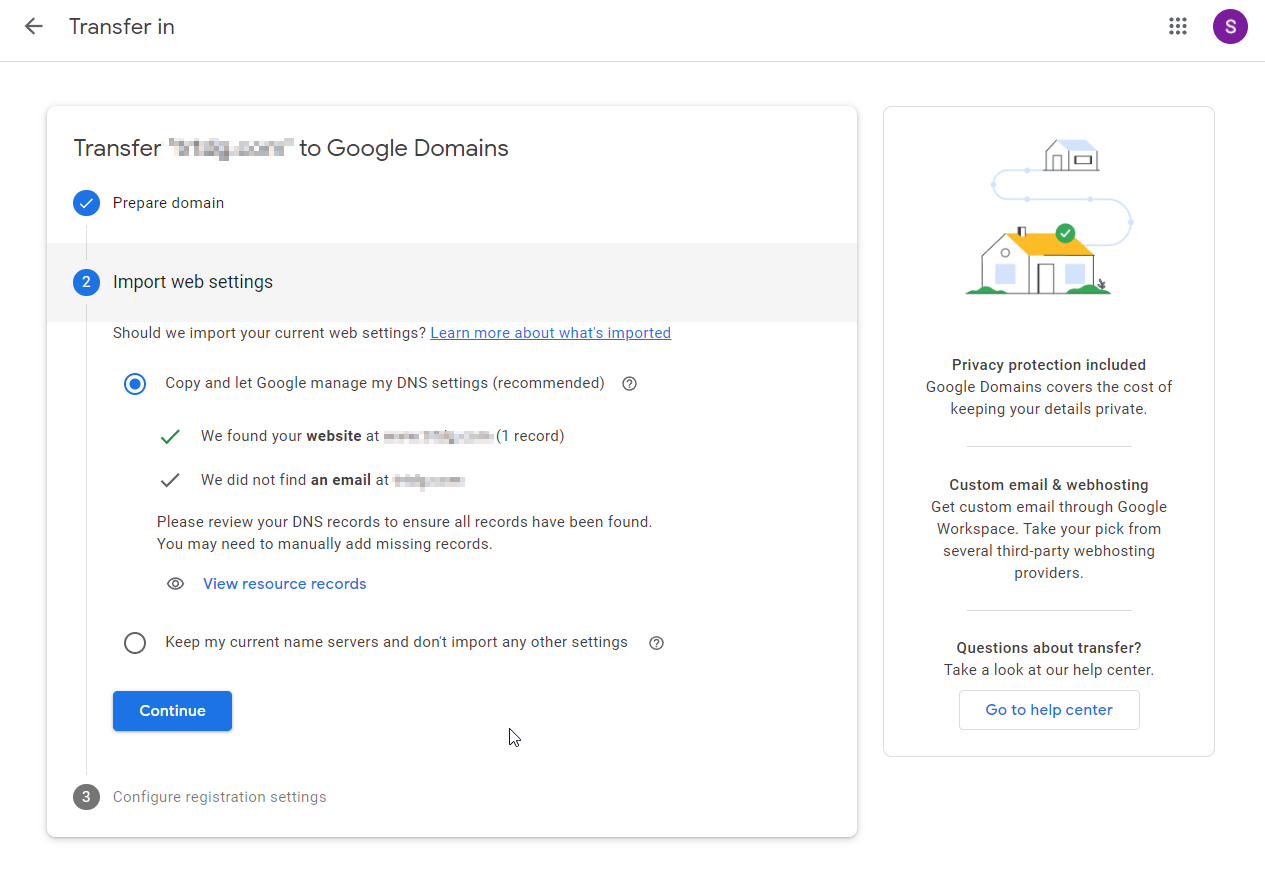
Now you need to decide if you want Google to manage your DNS settings for you. The default is to let Google copy and maintain your DNS, and this is probably the right choice unless you have your own DNS servers configured and want to continue using them. This is a technical point and you may need to ask your current hosting provider for direction on this question. Click the Continue button when you are ready.
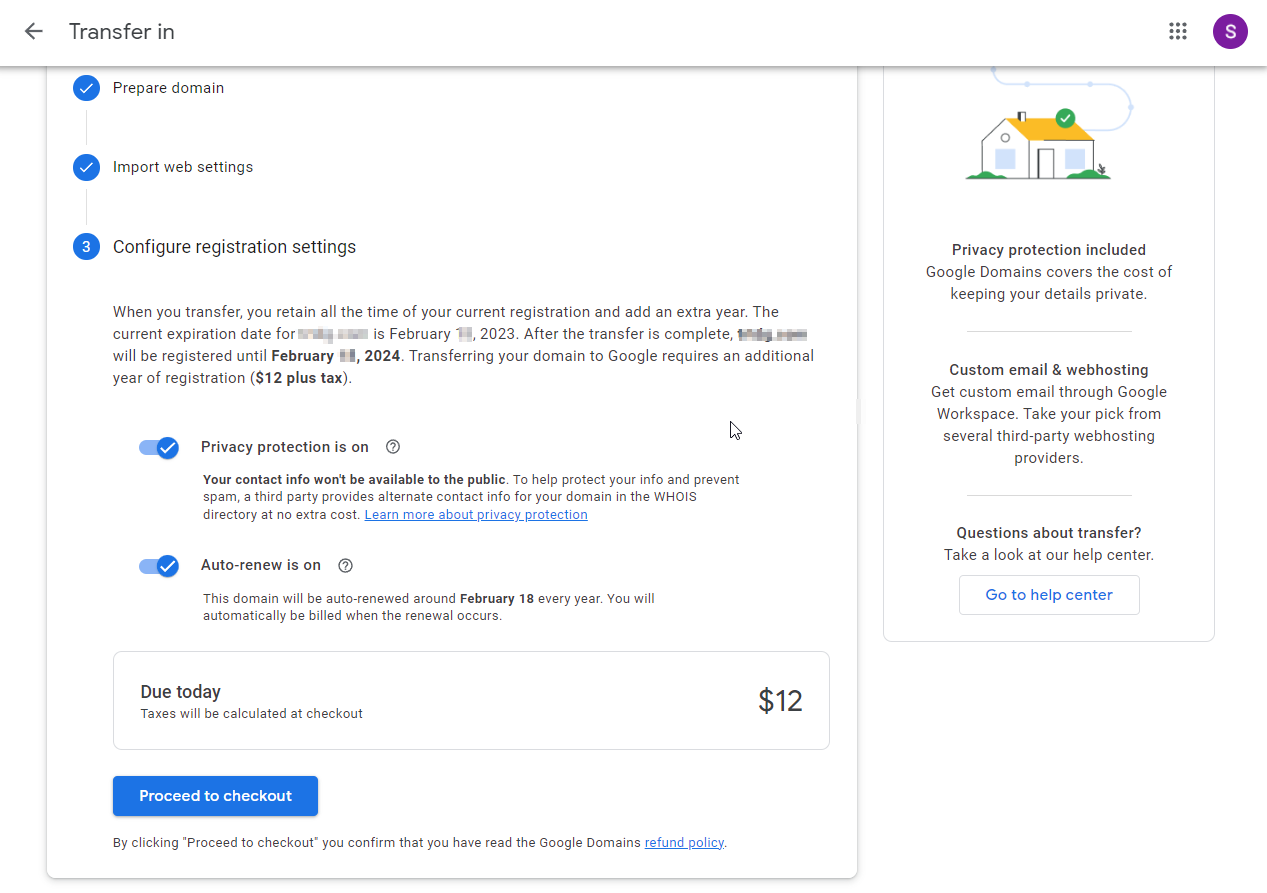
This screen is easy. You need to decide if you want privacy protection and auto-renew to be on. The default of on and on is a good choice. You also need to pay. Tap the “Proceed to Checkout” button to get this out of the way.
When you are done paying, the transfer process will begin. This whole process was pretty simple. Much less complicated than it was just a few years ago. More of a DIY task than a network administrator task. It’s so good to see that even domain name administration is becoming easier.
The transfer process I just described was for a domain name that I had parked and was not being used. There was another domain name I needed to transfer that was attached to a live website that had been using Google Workspace for email and other services for a long time.
As you might imagine, this transfer could be more complicated. Ironically, it ended up being not much more of a challenge. The transfer process was exactly like the one I described first except that at the end the DNS settings were not good and I had to use the Squarespace control panel to configure the new DNS settings. This process ended up being as simple as clicking a couple of buttons, and the website was back live in less than 10 minutes. Reconnecting the Google Workspace account required one more button click. I’m very sure that the simplicity of this transfer was the result of a collaboration between Google and Squarespace. The process was a simple DIY task.
This isn’t intended to be a tutorial on how to transfer a domain to Google Domains. It’s just illustrative of how simple the process has become. Not too many years ago transferring a domain name was something to dread. Now it’s relatively simple. Well, if you're using Google Domains and Squarespace hosting anyway. If not, your experience may be different.


